Step 1: Confirm the Source and Stop the Water (0 to 5 Minutes)
- Look at the tank. Identify whether water is coming from the top fittings (cold inlet, hot outlet, T&P valve), the side (heating element gaskets on electric units), or the bottom (tank rupture, drain valve).
- Shut the cold water supply. Turn the lever or gate valve on the cold inlet line clockwise until it stops. If the valve is seized, close the main house shutoff (usually within 3 to 5 feet of the meter or where the line enters the basement).
- Cut power or gas. Electric units: flip the dedicated 30-amp double-pole breaker off. Gas units: rotate the gas control knob to OFF and close the yellow shutoff valve on the supply line (quarter turn, perpendicular to the pipe).
- Do not open the T&P valve unless water is actively discharging from it. Stored water is 120 to 140 degrees Fahrenheit and will scald on contact.
- Identify the failure mode for the insurance narrative. Bottom-of-tank rupture means the glass lining has failed and replacement is mandatory. A weeping T&P or drain valve may be a $25 part swap if caught before saturation spreads.
Step 2: Contain and Extract Standing Water (5 to 30 Minutes)
- Move stored items off the floor within a 10-foot radius. Cardboard wicks moisture at roughly 1 inch per 15 minutes.
- Deploy towels, a wet/dry vac (minimum 6-gallon capacity), or a submersible pump if standing water exceeds 1 inch. A standard shop vac removes 5 to 6 gallons per minute.
- For losses over 50 gallons or water spreading beyond the mechanical room, call a professional team for water damage restoration with truck-mounted extraction. Truck mounts pull 100+ gallons per minute and are the only realistic option for finished basements.
- If water has reached carpeted areas, do not walk on the carpet repeatedly. Compression pushes water deeper into the pad and subfloor.
- Block migration paths. Roll towels into 2-inch dams at doorways, HVAC chases, and any visible floor penetrations where water tracks into adjacent rooms.
- Remember the volume math. A 50-gallon tank holds roughly 400 pounds of water. If half the tank discharges across a 200-square-foot room, expect 1.5 inches of standing water before any wicking into materials.
Step 6: Demolition Decisions
- Drywall: Flood cut 12 to 24 inches above the waterline if insulation is wet or saturation exceeds 48 hours.
- Carpet pad: Always remove. Pad cannot be effectively dried in place.
- Carpet: Salvageable if extracted within 24 hours and the loss is Category 1 or 2.
- Engineered hardwood: Typically non-salvageable after 48 hours of contact.
- Subfloor: Dry in place when readings allow. Replace if delamination or warping exceeds 1/4 inch.
- Baseboards: Detach and label by room. MDF baseboards swell and are not reusable. Solid pine or oak can be dried flat and reinstalled.
- Insulation: Fiberglass batts compress and lose R-value when wet. Remove any batt with visible water staining or sagging.
Step 3: Document Everything for Your Insurance Claim
- Photograph the heater nameplate (model, serial, capacity, manufacture date).
- Photograph the leak point, water lines on walls, and every saturated material before extraction begins.
- Record video walking from the heater outward, narrating affected rooms.
- Save the failed tank. Adjusters routinely request it as evidence of sudden and accidental discharge, which is the covered peril under most Sheffield Park homeowner policies.
- Note the time you discovered the leak. Policies often require notification within 24 to 72 hours.
- Pull purchase records. Tanks under 6 years old may still carry manufacturer warranty on the tank itself, which reduces your out-of-pocket replacement even if the policy denies the unit.
- Keep a running expense log. Emergency plumber visits, drying equipment rentals, and disposal fees are typically reimbursable as part of the loss when documented with receipts.
Step 7: Cost Ranges in Sheffield Park
- Minor leak, mechanical room only, no demolition: $500 to $1,200.
- Cat 1 loss, 200 to 400 square feet, partial demo: $1,800 to $3,500.
- Finished basement, Cat 2, full mitigation including basement flooding response with carpet, pad, and drywall removal: $3,500 to $7,500.
- Multi-room loss with hardwood and cabinetry damage: $8,000 to $15,000+.
- Water heater replacement (separate line item): $1,400 to $2,800 installed for a standard 50-gallon unit. Tankless conversions run $3,500 to $5,500.
- Most homeowner policies cover sudden discharge mitigation after a $1,000 to $2,500 deductible. For a full breakdown of pricing variables, review our water damage restoration cost guide.
- Add 15 to 25 percent for after-hours emergency dispatch between 10 PM and 6 AM or on holidays.
Step 4: Assess Category and Class (IICRC S500)
- Category 1: Clean water directly from the supply line or tank. Safe to handle with PPE. This is most heater leaks caught early.
- Category 2: Water that has contacted contaminants such as flooring adhesives, insulation, or items stored on the floor. Most heater leaks reach Cat 2 after 24 to 48 hours.
- Category 3: Grossly contaminated. Rare with heater leaks unless the discharge has mixed with sewage backup or sat for 72+ hours.
- Class 1 through 4 determines drying difficulty. A finished basement with carpet, pad, and drywall on three sides typically qualifies as Class 3.
Step 9: Prevent the Next Failure
- Install a leak detection sensor with automatic shutoff at the cold inlet. Units run $150 to $400 and close the valve within 5 seconds of detecting moisture.
- Replace the anode rod every 4 to 5 years. A depleted anode is the leading cause of tank-bottom corrosion in Sheffield Park water systems.
- Confirm a drain pan is installed under any heater located above finished space, piped to a floor drain or condensate line.
- Schedule annual flushing to remove sediment. Sediment accelerates element burnout on electric units and creates hot spots that crack the glass lining on gas units.
Step 8: Verify Completion Before Reconstruction
- Confirm all moisture readings within 2 percent of dry standard.
- Inspect for hidden moisture behind baseboards, under door thresholds, and in wall cavities using a pinless meter or thermal camera.
- Obtain a clearance document from your restoration contractor. This is the trigger for reconstruction and the final piece your adjuster needs to close the mitigation claim.
- Photograph final readings next to the meter display. Adjusters increasingly request visual proof of dry standard before authorizing reconstruction draws.
Step 5: Structural Drying Specifications
- Set air movers at 1 unit per 10 to 16 linear feet of affected wall, angled at 15 to 45 degrees to the surface.
- Deploy LGR dehumidifiers sized at 1 pint of removal per 30 to 40 square feet of wet area. A 600-square-foot loss needs roughly 15 to 20 pints per hour of dehumidification capacity.
- Target conditions: 60 to 80 degrees Fahrenheit, relative humidity below 40 percent, grain depression of 30 or more.
- Document moisture content daily. Wood subfloor should reach 12 percent or lower. Drywall should match unaffected control readings within 1 to 2 percent.
- Expected drying time: 3 to 5 days for Class 2, 5 to 7 days for Class 3 with proper equipment placement.
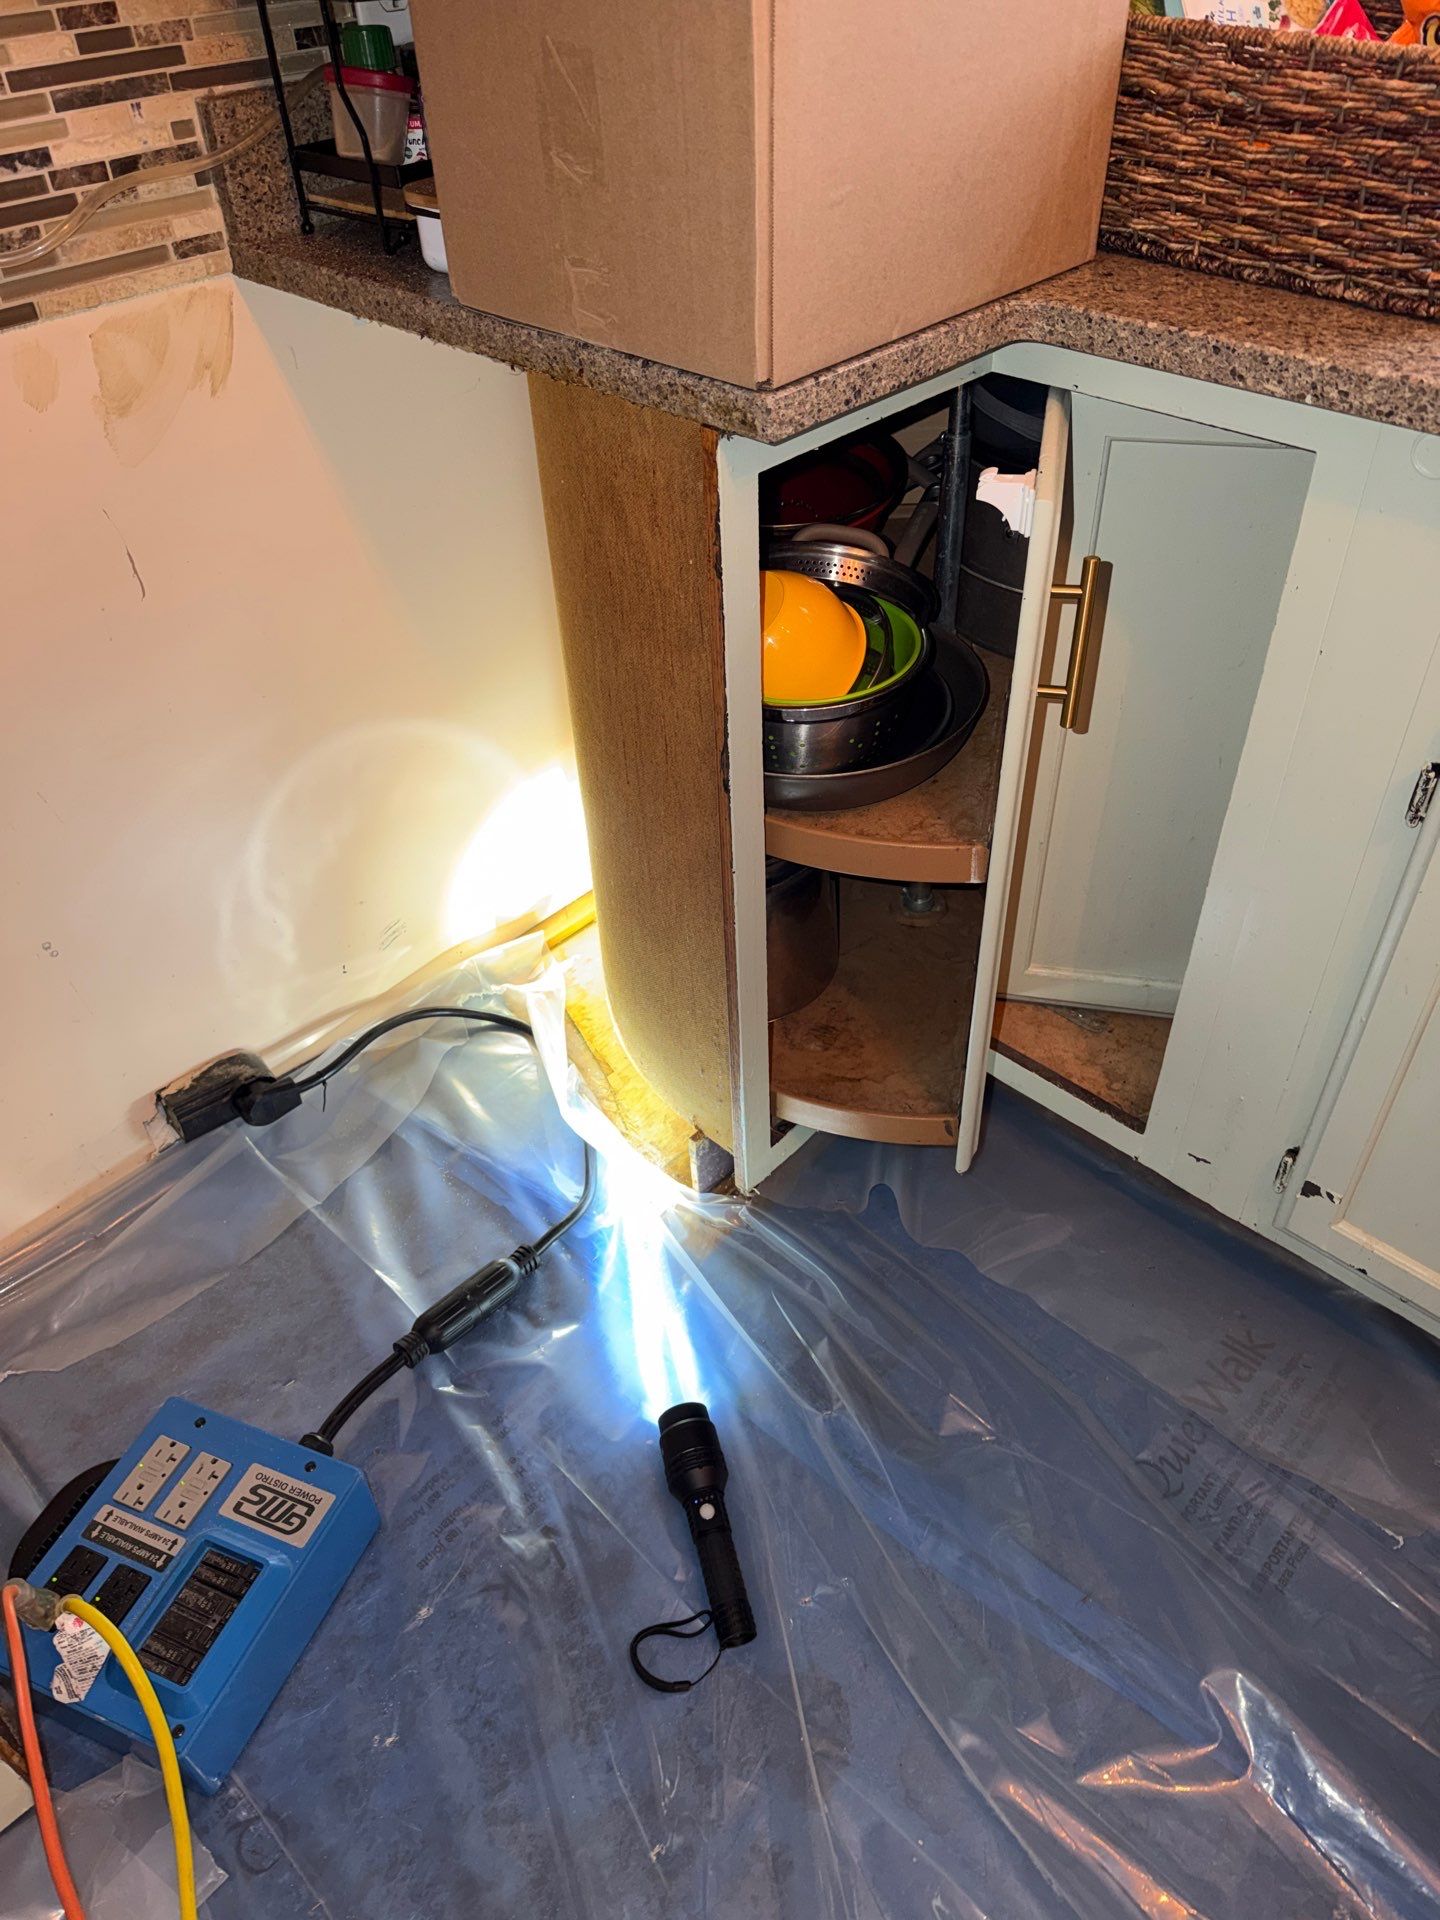
- Power load planning matters. Each LGR pulls 8 to 12 amps and each air mover draws 1.5 to 3 amps. A typical Sheffield Park Water Restoration mitigation setup of 8 movers and 2 dehumidifiers needs three separate 15-amp circuits to avoid tripping breakers overnight.